1-Wire - alternative uses
This connector basically consists of a 1.6K pull-up resistor connected to the GPIO 19 of the Raspberry Pi, so you can configure this GPIO as an input and connect any switch or any digital sensor such as float switches, door detectors, motion sensors… You can also configure this connector as an output and activate low power external devices such as LEDs, relays, buzzers…
 If you supply this connector or any GPIO in the header with more than 3.3V you will damage the Raspberry Pi. Do not connect high consumption devices such as motors either.
Input

Important
Always follow our safety tips before making any connection.
By connecting a switch as shown in the image above, GPIO 19 will go high when the switch is open and low when the switch is closed.
After wiring, go to the  GPIO,
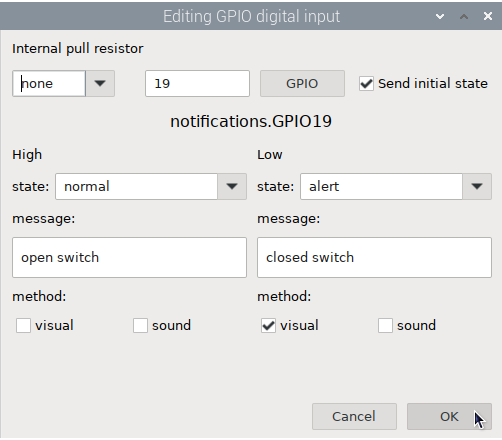
GPIO,  Digital tab and click Add input. Select GPIO 19 in GPIO field and none in internal pull resistor field. Select a state and write a message for each of the possible high or low states. Finally select visual in method and click OK to check the operation of the switch.
In addition to visual and sound warnings, you can use the  Notifications app to assign
  Actions to each of the defined states for the Signal K key “notifications.GPIO19”.

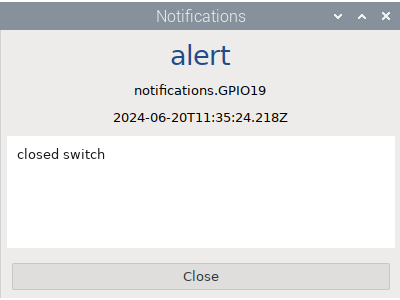
Visual warning
Output
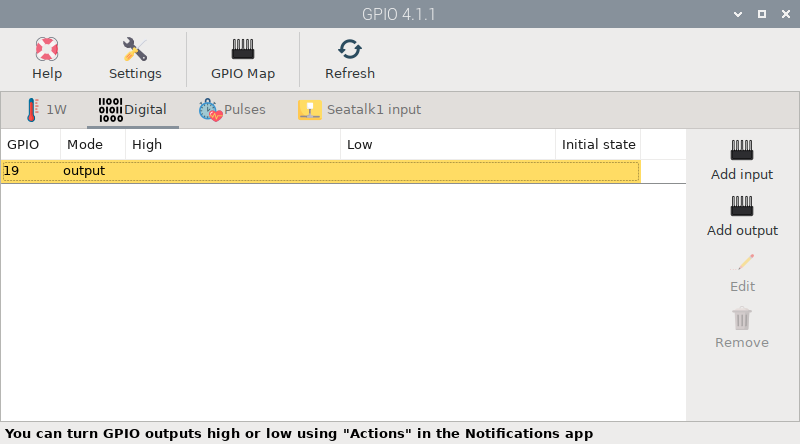
Depending on how you connect the external device, in this case a LED, it will behave differently. To treat this connection as a digital output you have to go to the GPIO app, Digital tab and click Add output. Select GPIO 19 in GPIO field and automatically two new Actions will we created in the Notifications app to set high (3.3V) or low (0V) the GPIO 19.
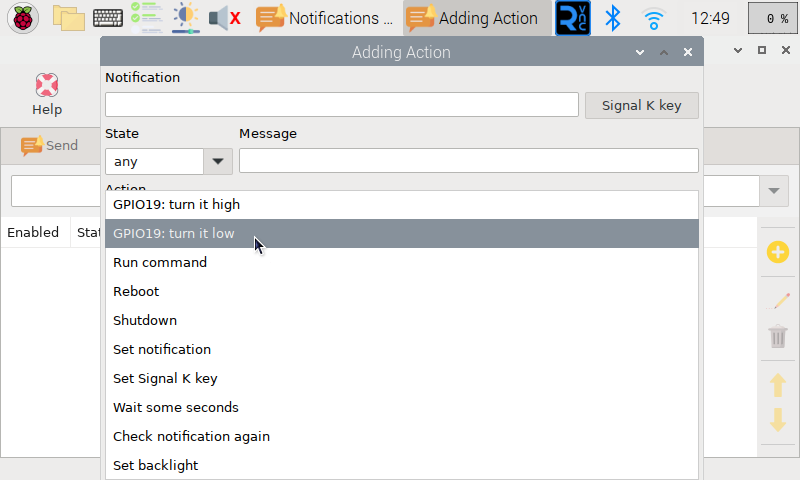
New actions in Notifications app
Wiring options

Important
Always follow our safety tips before making any connection.
When the external device is connected to DATA and GND, GPIO 19 will be high and the LED will turn on at startup (~3.3V). When you run the action GPIO19: turn it high, the LED will turn on (3.3V). When you run the action GPIO19: turn it low, the LED will turn off (~0V).
Important
Always follow our safety tips before making any connection.
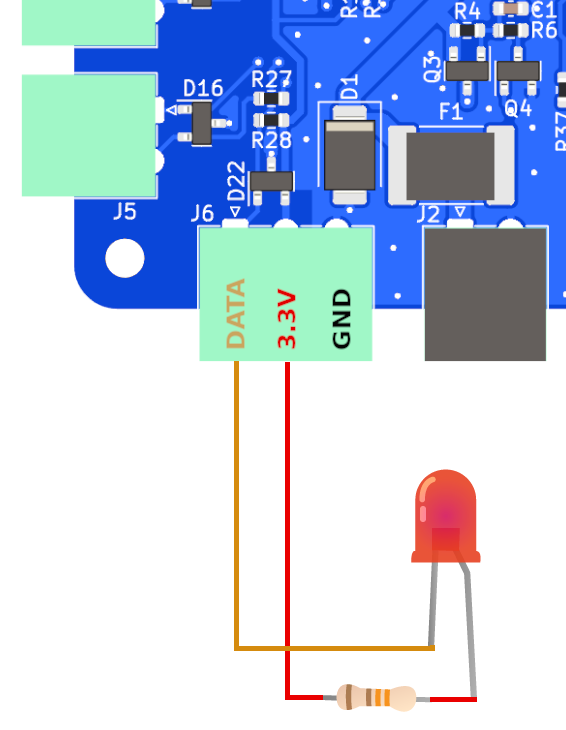
When the external device is connected to DATA and 3.3V, GPIO 19 will be low and the LED will stay off at startup (~0V). When you run the action GPIO19: turn it high, the LED will turn off (0V). When you run the action GPIO19: turn it low, the LED will turn on (~3.3V).